TABLE OF CONTENTS
Description
With nearly 300,000 e-commerce websites already using its software across the globe, PrestaShop is the leading open-source e-commerce solution in Europe and Latin America. Thanks to PrestaShop Essentials, its suite of modules that offers secure payment solutions worldwide, performance analysis and web marketing, and PrestaShop Platform, its hosting offer, PrestaShop allows companies to easily deploy their business on a larger scale.
Entities
Source | Target |
Product | Product |
Order | Order |
| Deduct Quantity from source | Update Stock and Prices |
Steps
Step 1.
Either while Creating a Task or in the Integrations menu.
Enter the name of the integration in the search bar.

Step 2.
Enter the Name of the Integration.
You can optionally also enter a description.

Step 3.
You will be prompted for the Shop URL and Webservice Key.

Step 4.
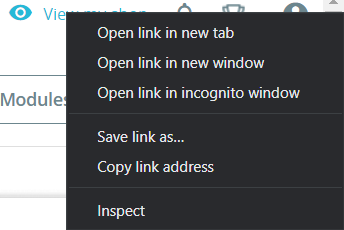
To obtain the Shop URL, head over to your PrestaShop dashboard, and copy the URL from the address bar.

Or simply right click it and click on "Copy Link Address".
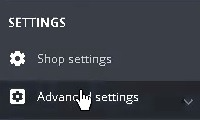
To obtain the Webservice key, head over to your PrestaShop dashboard.
In the lower-left corner of the screen, click on "Advanced Settings", as shown in the picture below:
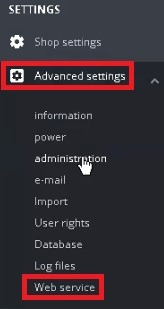
Then, select "Web service" from the dropdown menu, as shown in the picture below:
Next, click on "Add web service key", found in the upper right corner of the screen, as shown in the picture below:

Now you need to click the "Produce" button found on the right-hand side, for the key to generate, as well as enter a description for it, as shown in the picture below:

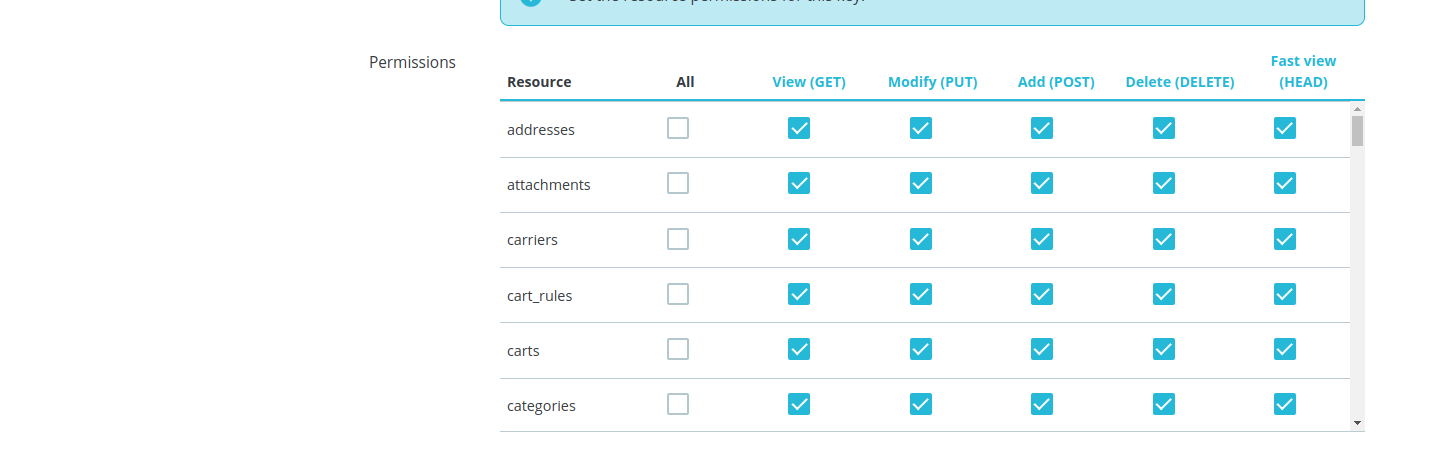
Next, you need to grant the desired permissions, and click the "to save" button, as shown in the picture below:
After that is done simply copy the generated key and paste it where you were prompted to by SyncSpider.
Now all that's left to do is to install the SyncSpider module on your PrestaShop account.
Start by clicking the "Download" button, as shown in the picture below:
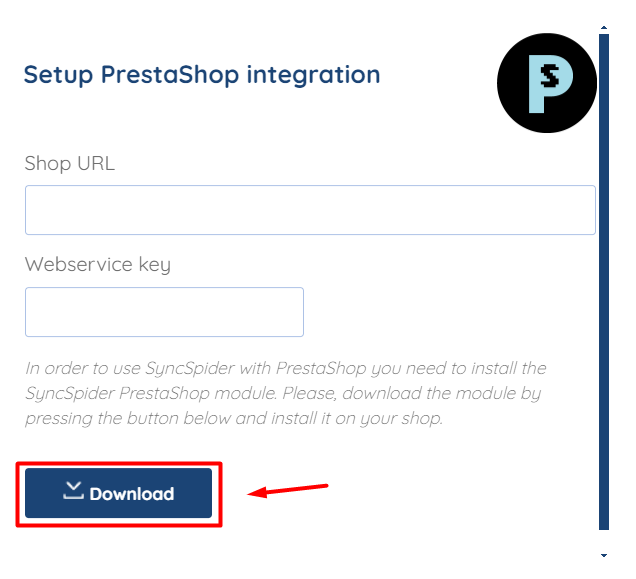
A .zip file should get downloaded to your machine. There is no need to extract anything.
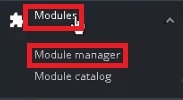
Simply head over to PrestaShop's dashboard once again, and click on "Modules" found on the left-hand side, and then on "Module manager", as shown in the picture below:
Then, in the upper-right corner of the screen, click on "Upload module", as shown in the picture below:

Now, simply drag and drop the downloaded .zip file where prompted, or select the destination path leading to it, as shown in the picture below:

After the SyncSpider module has been uploaded, and Shop URL and Web Service key pasted where prompted to by SyncSpider, click on "Finish".
Important: Enabling CGI mode is only necessary if PHP on your server is configured to run in CGI mode.
Prestashop is just one of the tools we support!
To check the list of the tools and features we support please click here!
If you don't see your favorite tool on our list, please take the time and send us the request here to create an integration for you or UP-vote if it's already on the list :)
We develop integrations based on the requests and up-votes :)
We hope that this covers everything. If you have any further questions or need additional clarification, please contact us via [email protected] or our chat widget!
Was this article helpful?
That’s Great!
Thank you for your feedback
Sorry! We couldn't be helpful
Thank you for your feedback
Feedback sent
We appreciate your effort and will try to fix the article