In this integration, we will see the steps of using Google Sheet as the source and destination. Earlier, this was not possible, but now that we have resolved the bugs, you can use it.
We will start by adding this integration. Earlier, we did not have the Google Sheet integration, but after receiving your valuable suggestions, we have developed the same
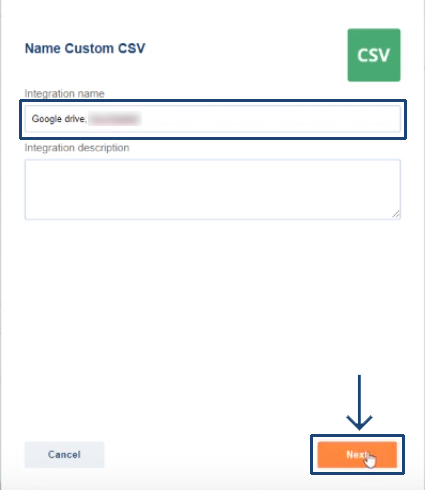
Step 1:
Login to your SyncSpider account, click on Integrations?and Search for ‘CSV’ in the search box for add new integration, enter the integration name and click on ‘next’.
Step 2:
Select the ‘storage type’ as Google account, select the Google account you want to connect and click ‘finish’.

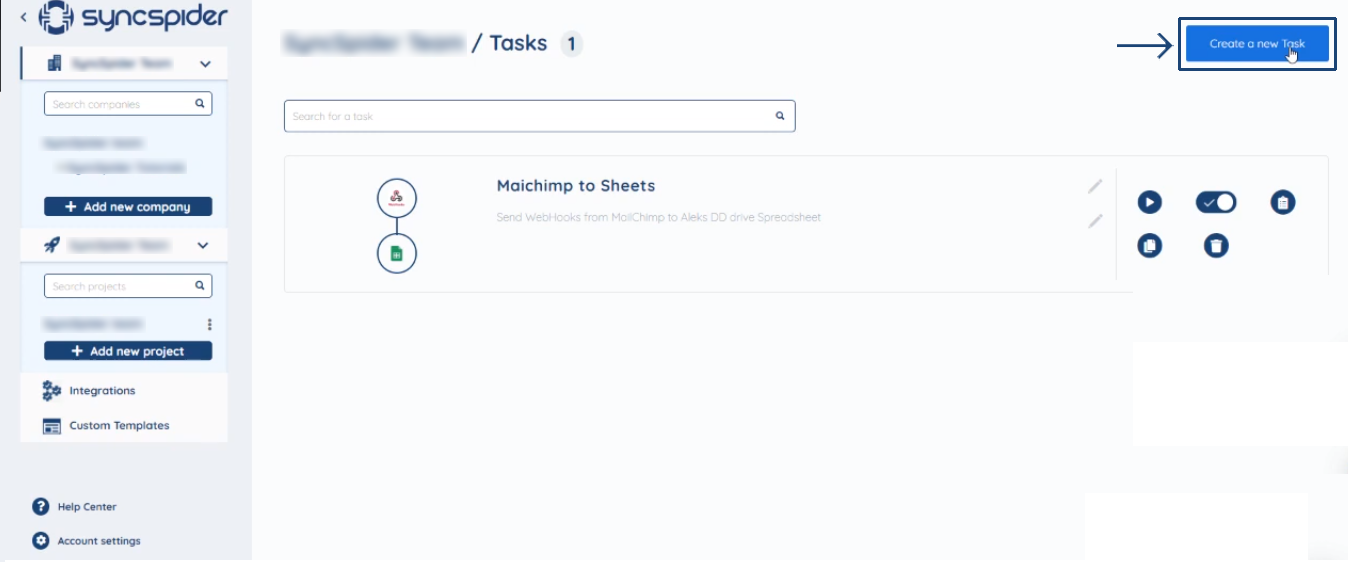
Now, we will start creating the task for this integration.
Step 3:
Click on ‘create a new task’ and then select the integration created recently for ‘Google Drive and SyncSpider’ for source integration and click ‘next’.
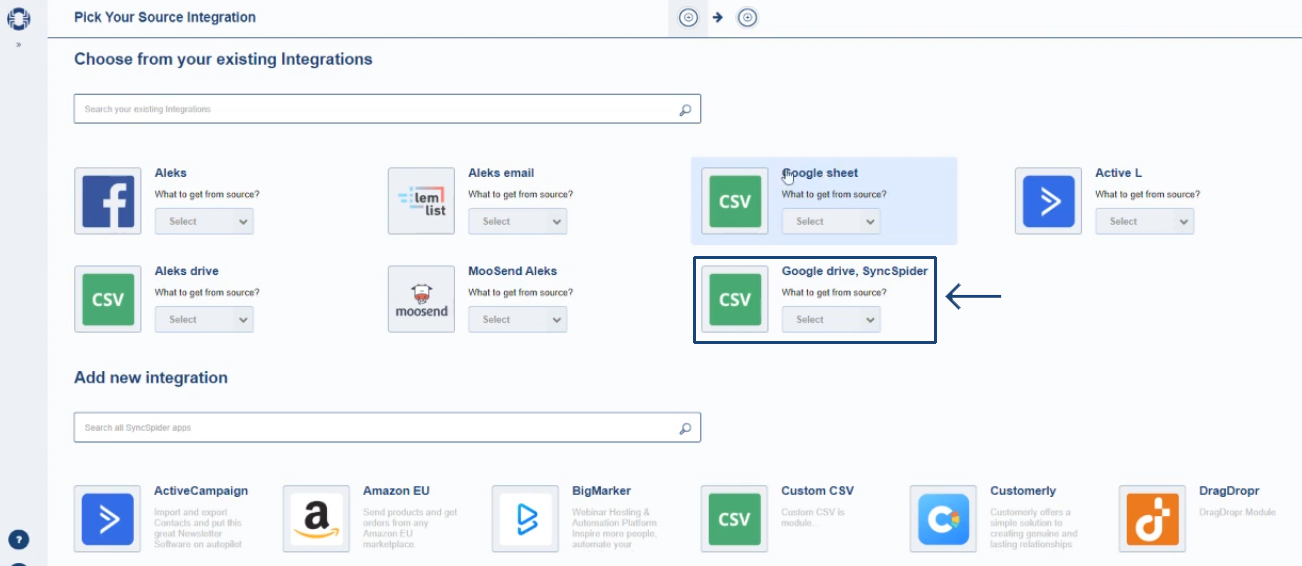
Step 4:
Our target destination is also the same, so, we select the source integration (Google Drive and SyncSpider) again and then, click ‘next’.

Step 5:
Now, you need to configure your source. For this, select the file you want to upload. SyncSpider reads the data and shows all the fields in it with the value type. You can change the value type if required. Here, the value types are correct, so we keep them as it is. After making the necessary changes, click ‘next’.

Now, it will show the option to filter any data you need. As its not required here, we click ‘next’.
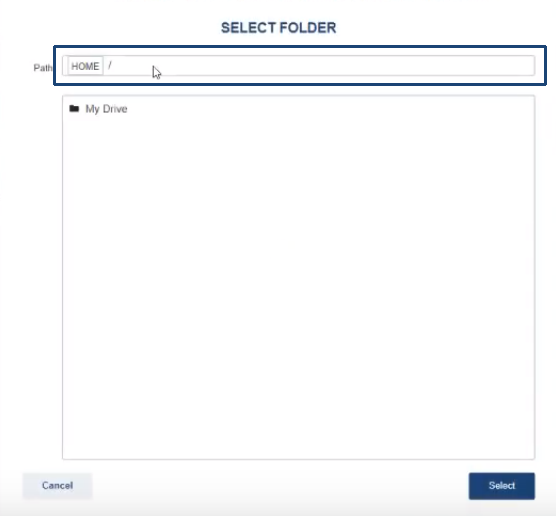
Step 6:
We will configure the target now. Here, we will select the path to the folder where we need the output file.
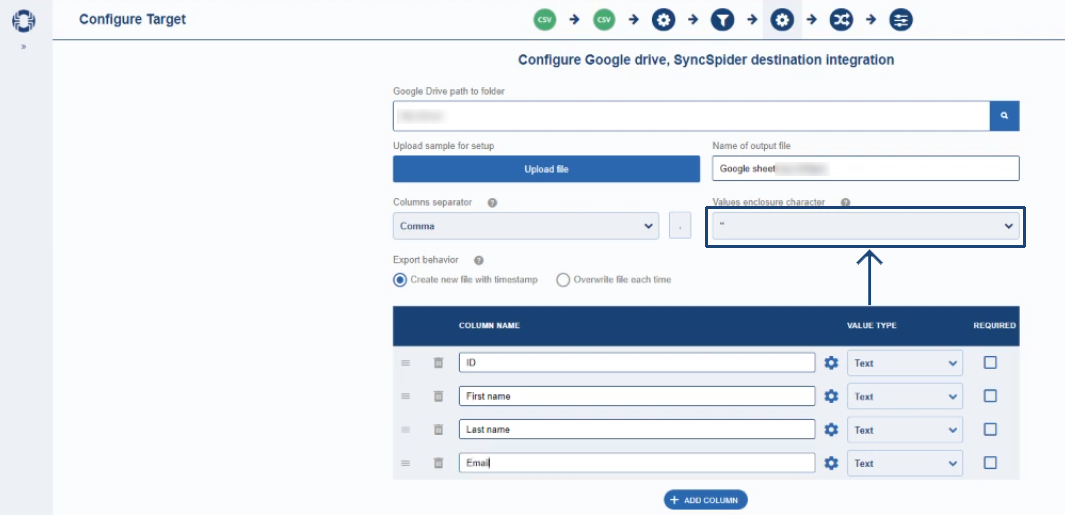
Step 7:
You will be able to see an option with ‘upload sample for setup’. This option allows you to upload a sample file similar to the output file you need. Beside it, you can see a field with ‘name of output field’. You can name the output file which you need. If you don’t give any name, SyncSpider will create a file on its own.

Step 8:
Now, we also require the output file to have the same fields as the file we uploaded, to get the correct values. Click on ‘add column’ to add the column names as per your source file then click ‘next’.
Step 9:
We will map the fields now. Select the corresponding fields, drag and drop them. After these fields are mapped, click ‘next’.


Step 10:
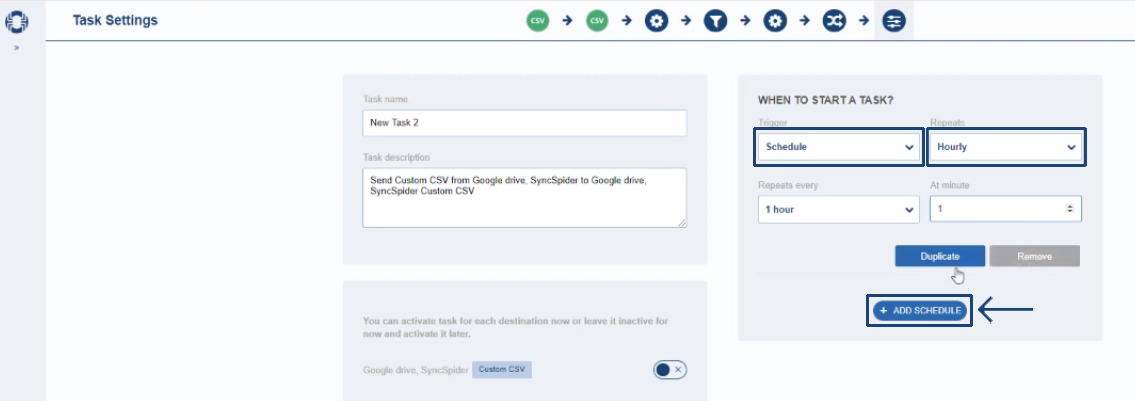
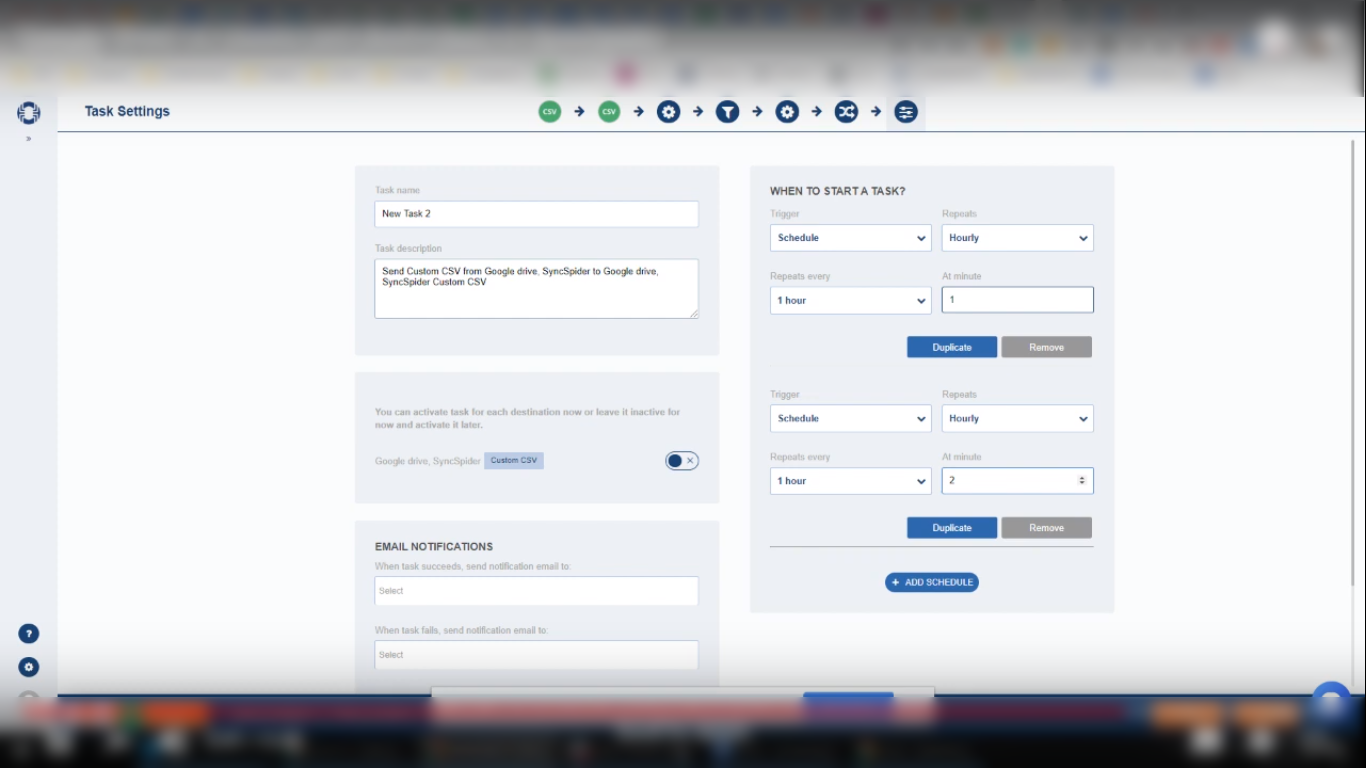
Now, we will set up the task settings and schedule it. Here, we are setting the schedule as ‘hourly’ which repeats every minute. We can also add more schedules as we need. After adding the task settings, click ‘finish’.
Step 11:
We will now execute the task by clicking the ‘start task’ option as shown. After the task gets executed, we will refresh Google Drive. The file is now visible on drive with the fields we need.

Thus, we can successfully integrate with Google Sheet as the source and destination.
This is just one of the integrations offered by SyncSpider.
To check the list of the tools and features we support, please click here.
If you don't see your favorite tool on our list, please take the time and send us a request here to create an integration for you OR Up-vote it if it's already on the list :)
We develop the integrations based on the requests and up-votes :)
If you got any questions or need assistance, feel free to contact our support team via the chat widget on our site and within SyncSpider app.
Was this article helpful?
That’s Great!
Thank you for your feedback
Sorry! We couldn't be helpful
Thank you for your feedback
Feedback sent
We appreciate your effort and will try to fix the article