At SyncSpider, we prioritize the security of your account. Enabling Two-Factor Authentication (2FA) is a powerful way to protect your data by adding an extra layer of security.
2FA ensures that even if someone has your credentials, they cannot access your account without a verification code.
This article will guide you through the steps to enable 2FA for your SyncSpider account in just a few minutes.
TABLE OF CONTENTS
- Step 1: Log in to Your SyncSpider Account
- Step 2: Access Settings
- Step 3: Open Profile Settings
- Step 4: Go to Security settings
- Step 5: Enable Two-Factor Authentication
- Step 6: Log Out and Test Two-Factor Authentication
- Step 7: Enter the Verification Code
Step 1: Log in to Your SyncSpider Account
To begin, log in to your SyncSpider account by going to SyncSpider Login and entering your email and password.
Step 2: Access Settings
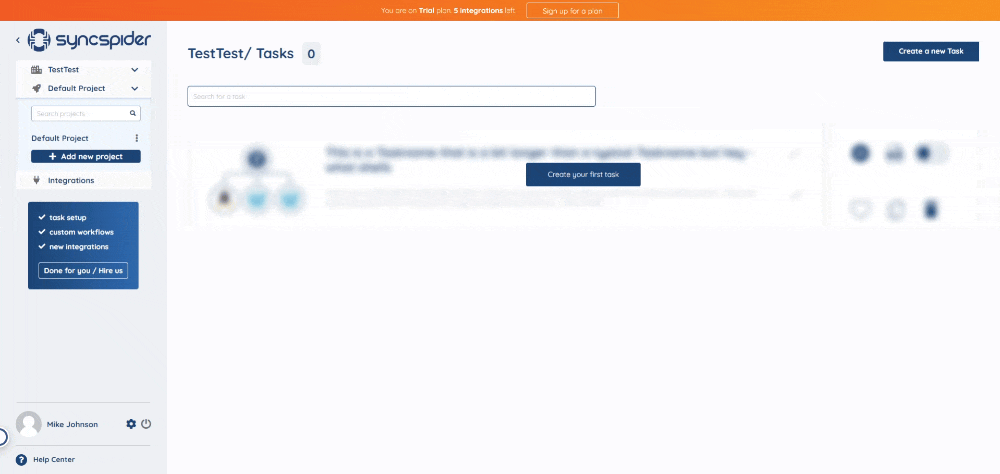
On the bottom-left side of your SyncSpider dashboard, click on the Settings wheel/toggle icon next to your name.

Step 3: Open Profile Settings
Navigate to the upper-right side of the screen, next to your profile picture. Click on the dropdown menu and select 'Profile' from the list.

Step 4: Go to Security Settings
Once you're in the profile settings, click 'Security' in the left sidebar.

Step 5: Enable Two-Factor Authentication
In the Security settings, click on the 'Enable two-factor authentication button'
.

Here’s the full process to reach the security settings and enable Two-Factor Authentication (2FA) in SyncSpider, starting directly from the dashboard.
That's it! You've successfully enabled Two-Factor Authentication. If you'd like to test it, proceed to Step 6 below.
Step 6: Log Out and Test Two-Factor Authentication
Now that you've enabled Two- Factor Authentication (2FA), you can verify that it's working correctly by logging out and logging back in.
Go to SyncSpider Login and enter your email and password as usual.
After submitting your login credentials, you will be prompted to enter a verification code.

Step 7: Enter the Verification Code
Once you’ve logged in with your credentials, check your email inbox for a verification code. Enter the code in the prompt to complete your login.

Note: For Google and Facebook login options, no additional MFA is required by our side, as these are third-party SSO providers that manage their own security configurations. It is up to users to enable MFA within their respective Google or Facebook accounts.We hope this covers everything. If you have any further questions or need additional clarification, please reach out to us via [email protected] or our chat widget!
Was this article helpful?
That’s Great!
Thank you for your feedback
Sorry! We couldn't be helpful
Thank you for your feedback
Feedback sent
We appreciate your effort and will try to fix the article