Custom Collection fields are used in CRM many times. For example, if you have a SKU (Stock keeping Unit) and under that many fields like sizes, prices etc. it can be done easily with this.
TABLE OF CONTENTS
Input file:
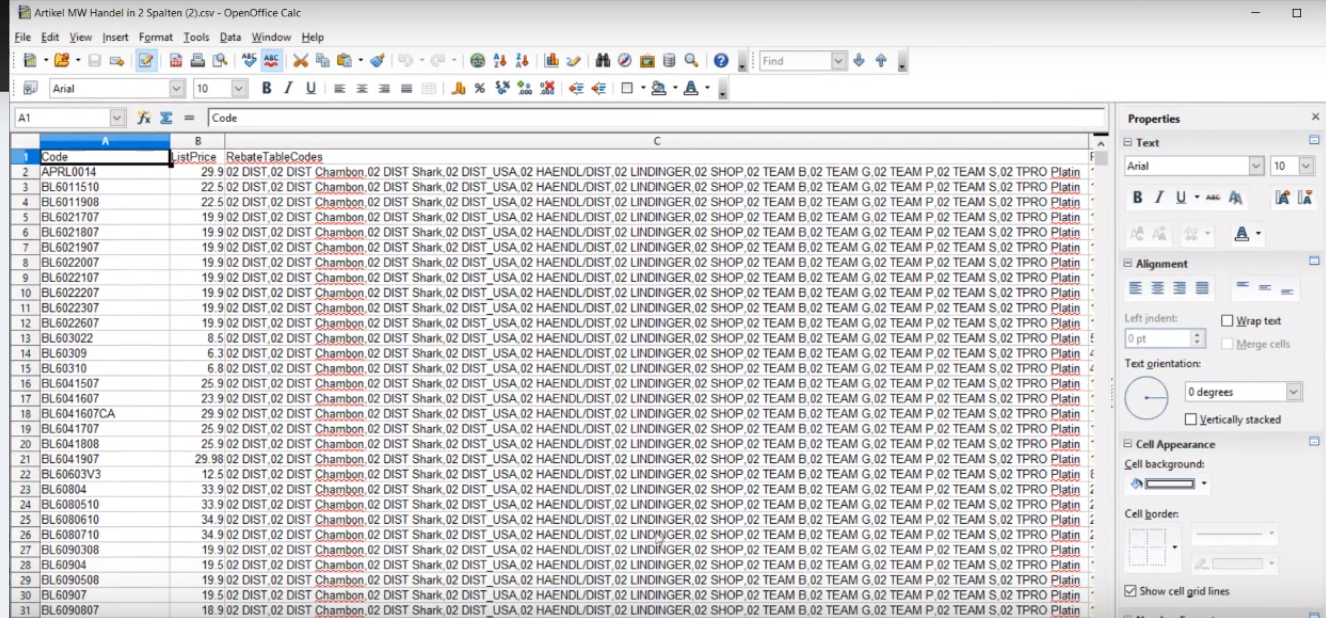
Here, we have an existing file with SKU groups, discount codes and prices for them. But the problem is that we have all the codes in one column and prices in another.
We will be sending the required codes and the prices for them to the individual sellers as we need. For that, they need to separate with their individual codes and prices.
We can do this easily with SyncSpider.
First, we will see the integration of CSV to CSV and then you can integrate easily with Shopify, Magento etc. as you ask in the comments.
Step 1:
Login to your SyncSpider account and click on ‘create a new task’ located at the upper right side of your screen as shown below.

Step 2:
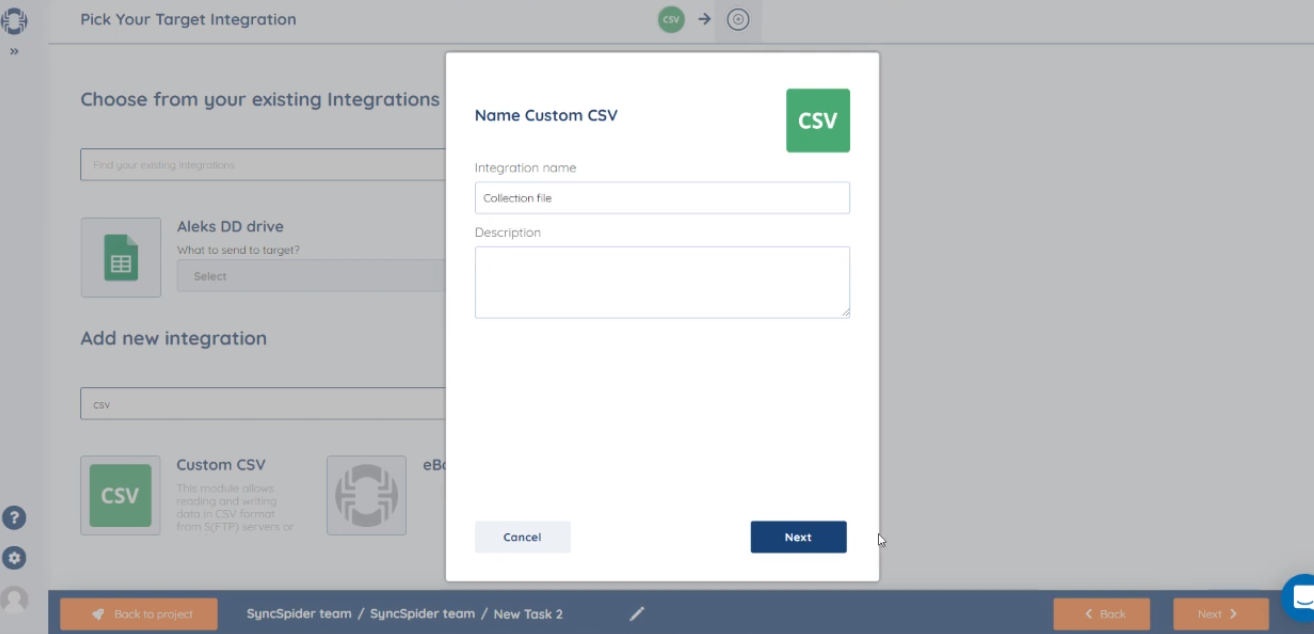
Search for ‘CSV’ in the search box, enter the integration name, description and click on ‘next’.

Step 3:
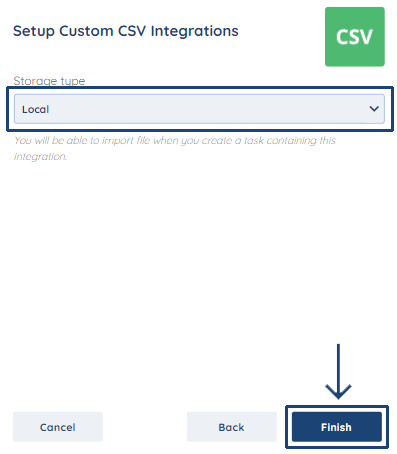
Select the ‘local’ storage type and click ‘finish’.

Step 4:
Now, moving further, we will pick the target integration. Search for ‘CSV’ in the search box as we discussed about creating a CSV to CSV integration.
Enter the integration name, description and click ‘next’.
Step 5:
Select the ‘local’ storage type and click ‘finish’.
Step 6:
Now, we have to configure the 'source integration'. Here, we will select the file to upload. The fields are separated by semicolon, so we will select ‘columns separator’ as semicolon. SyncSpider reads the file and displays the columns in it.
Click on ‘accept’ in the preview changes which displays the columns and it’s value type.

Step 7:
You can see ‘collection field’ option in the custom fields section. Click on it to create one. Enter suitable name, select the column separator (here, the prices are separated by a comma, so we have entered ‘,’)

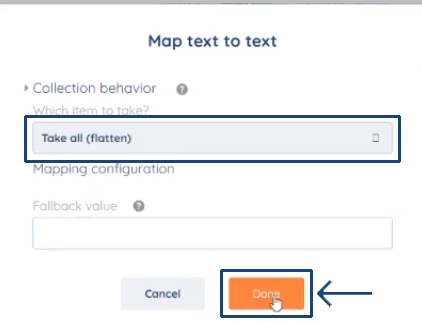
Step 8:
According to the file we have, we need to combine ‘rebate table code’ and ‘prices’ column, which we will select by clicking from the drop-down list and ‘+’ to add the other column and click ‘done’. Now, click on ‘next’ to move ahead.


We do not need to filter any data, so we will click ‘next’ to move ahead.
Step 9:
Now, we will configure the collection file target integration. This will be the file which we will download. Add the necessary columns you need in your file and click ‘next’

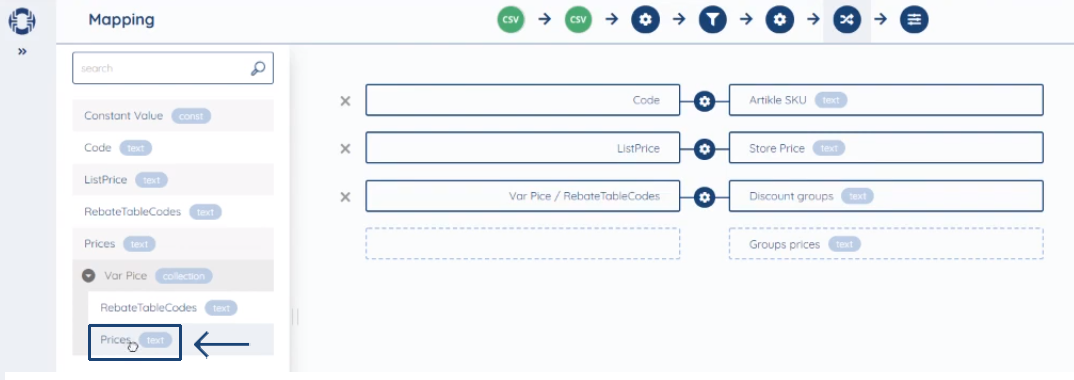
Step 10:
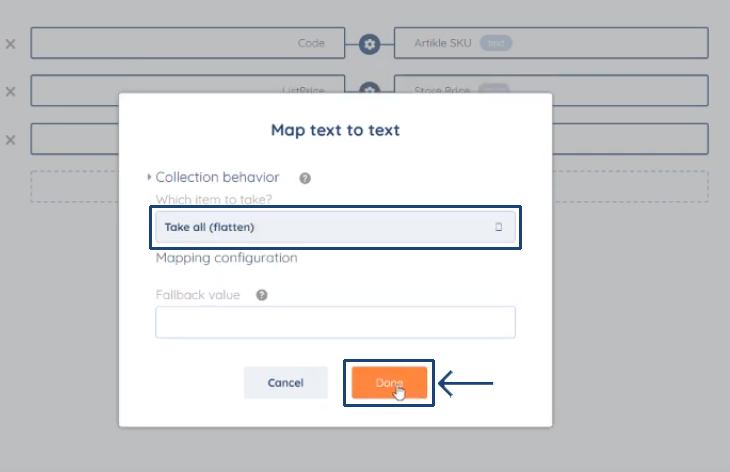
You need to map the fields now. Add the fields corresponding to Article SKU, Store Price and click on ‘rebate table code’ to configure the custom collection. Make the changes as shown and then click ‘next’.


Step 11:
Now, you need to make the task settings. Give the suitable name, set the trigger to ‘schedule’ as you need it; weekly, daily etc., activate task and click ‘finish’.

Step 12:
Run the task by clicking on the ‘execute symbol’ and then click ‘start task’. The task gets executed.

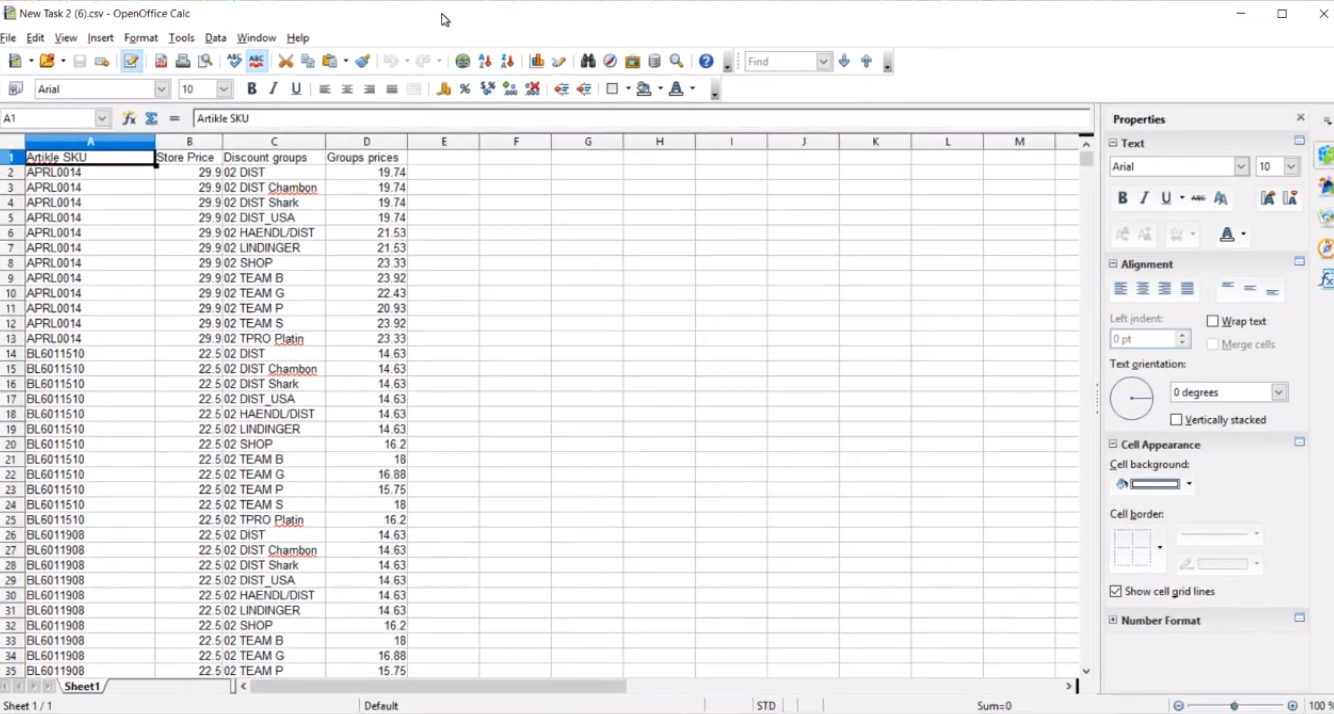
Click on the file name near the message: ‘CSV file is ready for download’. The file gets downloaded and you can see the columns separated as required.

Output file:
This is just one of the features offered by SyncSpider.
To check the list of the tools and features we support, please click here.
If you don't see your favorite tool on our list, please take the time and send us a request here to create an integration for you OR Up-vote it if it's already on the list :)
We develop the integrations based on the requests and up-votes :)
If you got any questions or need assistance, feel free to contact our support team via the chat widget on our site and within SyncSpider app.
Was this article helpful?
That’s Great!
Thank you for your feedback
Sorry! We couldn't be helpful
Thank you for your feedback
Feedback sent
We appreciate your effort and will try to fix the article