TABLE OF CONTENTS
Description
ATUM’s Multi-Inventory is trying to remove the above issues and brings advanced features for a fracture of the cost charged by 3rd party service. Now you, as a shop owner have the option to add as many inventory records per product as your business needs. What is even better, the system is trying to push the editing boundaries far beyond the usual standard.
Entities
Source | Target |
Send Inventory | Create or Update Inventory |
Steps
Step 1.
Either while Creating a Task or in the Integrations menu.
Enter the name of the integration in the search bar .

Step 2.
Enter the Name of the Integration.
You can optionally also enter a description .
And press next.

Step 3.
You will be prompted for the Base URL, Consumer Key and Consumer Secret.

Step 4.
To install the plug in, First download it from the button, Then go to Plugins -> Add New.
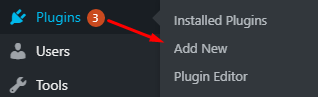
After that, proceed on the Add Plugins and click Upload Plug-in.

A dropdown will appear and just drag and drop the plugin into the box and click on "Install Now".

That is all for the plug in part, now to obtain the remaining credentials we need.
Step 5.
To obtain the Shop URL, Consumer Key And Consumer Secret, Log in to your WooCommerce Dashboard. Copy the URL of your store it can vary from user to user, it usually looks something like this:
https://abeto.io/wp-admin/ or https://abeto.io/ ( this was the URL of our shop) it entirely depends on the usecase.
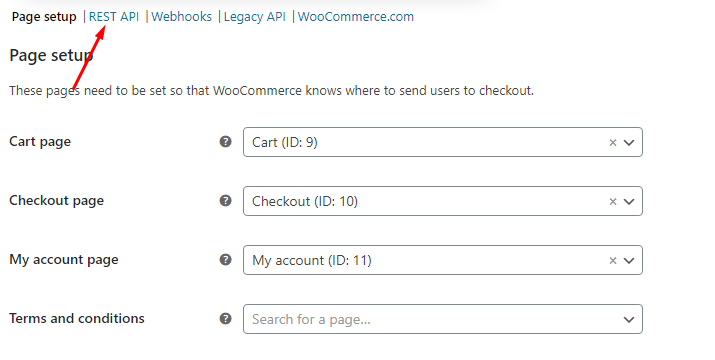
To obtain the Consumer Key and Consumer Secret, go to WooCommerce "Settings".

Then In general settings go to "Advanced".

Then on the Page setup, go to "Rest API".
Now click on Add Key, Name and Change the permission to "Read and Write".

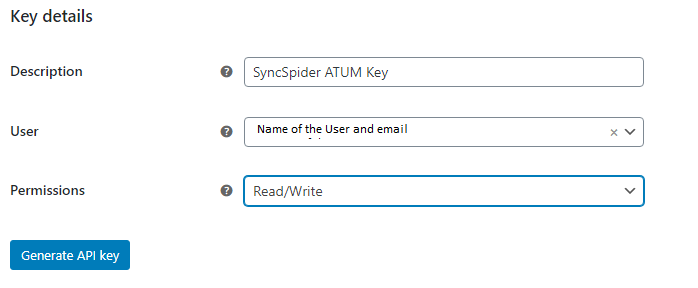
Generate the key, Copy and paste the Client key and Secret to SyncSpider and click Finish!
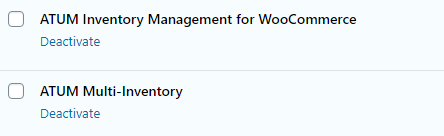
Important NOTE: You will have to have ATUM Inventory Management for WooCommerce and Multi-Inventory for this to work.
ATUM Multi Inventory is just one of the tools we support!
To check the list of the tools and features we support, please click here.
If you don't see your favorite tool on our list, please take the time and send us a request here to create an integration for you OR Up-vote it if it's already on the list :)
We develop the integrations based on the requests and up-votes :)
We hope that this covers everything. If you have any further questions or need additional clarification please reach out to us via [email protected] or our Chat Widget!
Was this article helpful?
That’s Great!
Thank you for your feedback
Sorry! We couldn't be helpful
Thank you for your feedback
Feedback sent
We appreciate your effort and will try to fix the article