TABLE OF CONTENTS
Description
Shopify is one of the most popular e-commerce platforms, empowering businesses to create and manage online stores with ease. Integrating your Shopify store with SyncSpider via the Public App allows you to streamline workflows by automating data synchronization, inventory updates, and more.
Entities
Source Target Product GraphQL
Product GraphQL
Product Product Order Product Update Customer Stock Update
Order
Order Update
Customer
Important Note: With Shopify's upcoming API changes, all product-related tasks will need to transition from the REST Admin API to the GraphQL-based Shopify Product entity by February 1, 2025, for Public apps. So when setting up any new product related tasks, make sure to use the Product GraphQL.
For users integrating Shopify via Custom Apps, please note that the deadline to migrate to the GraphQL-based Shopify Product entity is April 1, 2025. If you need more time, check out our dedicated article on integrating Shopify via Custom App here.
Steps to Integrate Shopify via Public App
Include our Public app from the Shopify store in your list of apps. This will redirect you to our app, allowing you to create a Shopify Integration without the need to manually enter your credentials.
Step 1: Select the Shopify Integration
Onn the Integrations tab in the SyncSpider dashboard, select Connect new app and search for the Shopify module in the pop-up window.
Alternatively, you can add the integration while creating a new task.
TABLE OF CONTENTS
Description
Shopify is one of the most popular e-commerce platforms, empowering businesses to create and manage online stores with ease. Integrating your Shopify store with SyncSpider via the Public App allows you to streamline workflows by automating data synchronization, inventory updates, and more.
Entities
Source | Target |
| Product GraphQL | Product GraphQL |
| Product | Product |
| Order | Product Update |
| Customer | Stock Update |
| Order | |
| Order Update | |
| Customer |
Important Note: With Shopify's upcoming API changes, all product-related tasks will need to transition from the REST Admin API to the GraphQL-based Shopify Product entity by February 1, 2025, for Public apps. So when setting up any new product related tasks, make sure to use the Product GraphQL.
For users integrating Shopify via Custom Apps, please note that the deadline to migrate to the GraphQL-based Shopify Product entity is April 1, 2025. If you need more time, check out our dedicated article on integrating Shopify via Custom App here.
Steps to Integrate Shopify via Public App
Include our Public app from the Shopify store in your list of apps. This will redirect you to our app, allowing you to create a Shopify Integration without the need to manually enter your credentials.
Step 1: Select the Shopify Integration

Step 2: Name the Integration
Enter a name and description for your Shopify integration.
Click Next to proceed.

Step 3: Add the SyncSpider Public App in Shopify
Click the Go to Market button in SyncSpider.

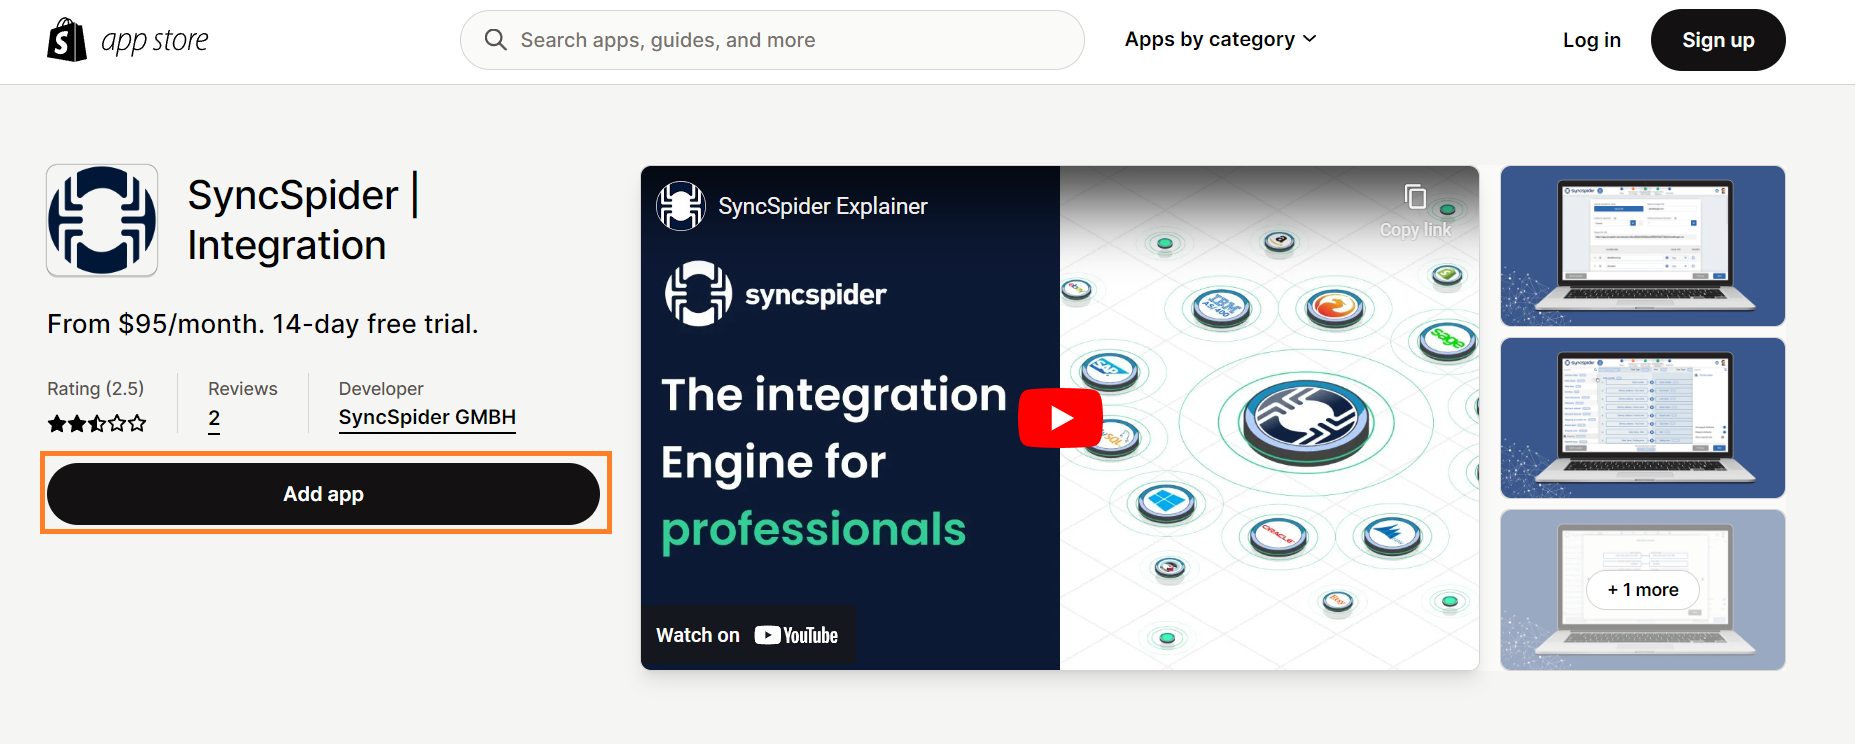
You will be redirected to the Shopify App Store. Click the Add App button.
Step 4: Log In and Choose Your Store
Log in to your Shopify account with your credentials.

Select the store you wish to connect.

Step 5: Install the App
Once redirected to your store backend, click the Install App button.

Important Note: Please note that the following API access scopes need to be enabled in order for the Integration to work properly:
| read_products |
| write_products |
| read_inventory |
| write_inventory |
| read_fulfillments |
| write_fulfillments |
| read_script_tags |
| write_script_tags |
| write_orders |
| read_orders |
| read_customers |
| write_customers |
| write_merchant_managed_fulfillment_orders |
| write_third_party_fulfillment_orders |
Step 6: Finalizing the Integration process
Once the App is installed, you will be redirected back to SyncSpider's Shopify Integration panel where your store credentials will be stored automatically.

Click Finish to complete the setup.
Additional Resources
For more information on Shopify, check out the following resources:
Shopify is just one of the tools we support!
To check the list of the tools we support, please click here.
If you don't see your favorite tool on our list, please take the time and send us a request here to create an integration for you OR Up-vote it if it's already on the list :)
We develop the integrations based on the requests and up-votes :)
If you got any questions or need assistance, feel free to contact our support team via the chat widget on our site and within SyncSpider app.
Was this article helpful?
That’s Great!
Thank you for your feedback
Sorry! We couldn't be helpful
Thank you for your feedback
Feedback sent
We appreciate your effort and will try to fix the article
