In this help article, We will show you how to create and connct a task from BigCommerce to Dokan.
Here is a small video explaining the basics, while we will go a bit more in depth with the help file:
First step is to integrate BigCommerce And Dokan.
Here you can find help file to integrate BigCommerce
Here you can find help file to integrate Dokan
Step 1.
Choose which entities you want to use for Bigcommerce in this example we will transfer Products.

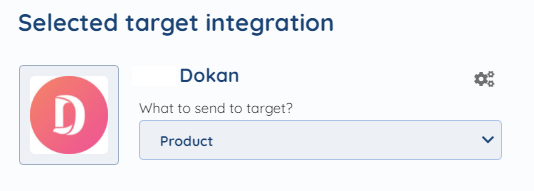
Step 2.
Choose which entities you want to use for Dokan
Step 3. (Optional)
Filters
In this specific use case we don't need any filters but you can use them if needed.

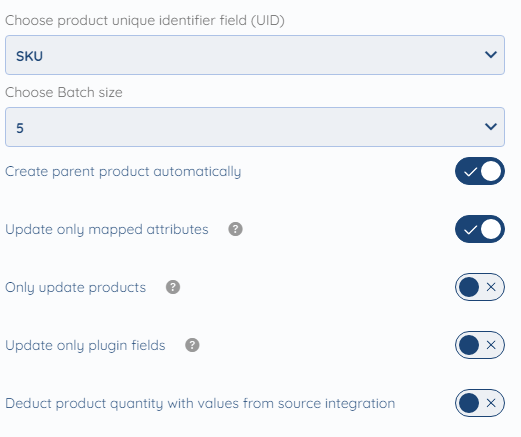
Step 4.
Dokan Settings
These are all the settings for Dokan , we can choose different Unique Identifiers ( Like Product ID, Name etc. )
Choose the batch size of your preference ( lowest is 1 highest is 100)
We will leave Create parent product and Update only mapped attributes on as these are basic settings. Other settings are per use case but we will leave them off.
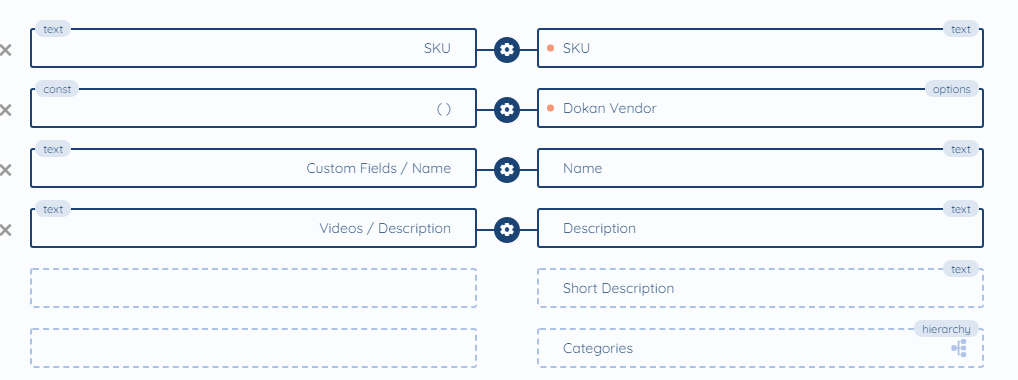
Step 5.
Mapping
In mapping we would recommend to map as much fields as you need, So that SyncSpider can recognize data correctly and transfer everything as intended. I will show you the mapping that we chose for this specific use case, but it may wary depending on the use case.
Note: You can use our AI Mapping feature that is in the bottom right corner of the Mapping.

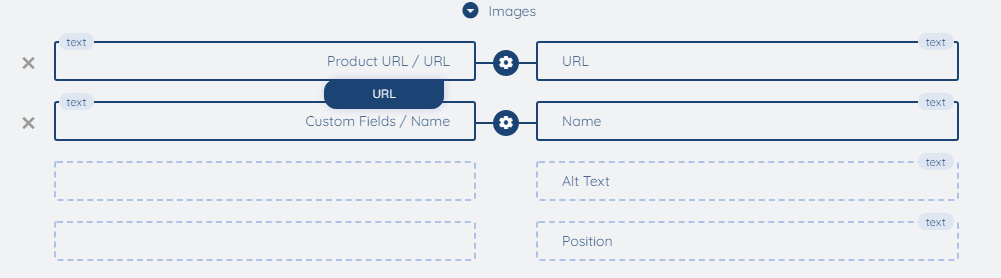
Main Image:

Images:
Tags:
Downloadable Files:

Product PDF:

That is everything for the mapping part.
As stated above it can wary from use-case to use-case so it is IMPORTANT to map as you prefer and need it.
Step 6.
Task Settings
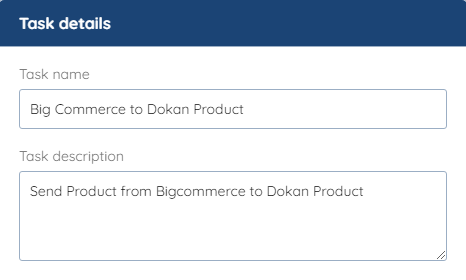
First we set the name and Description (optional) of the task .
On this setting, you can activate the task instantly or leave it for later

This setting is also optional. But you can set this task to trigger your email when the task succeedes/fails

And Lastly Automation
Here you can set the trigger of the Task.
We set the trigger on Schedule to trigger the task Daily. You can choose whatever you prefer

As this task is now completely configured. we can finish and activate it.
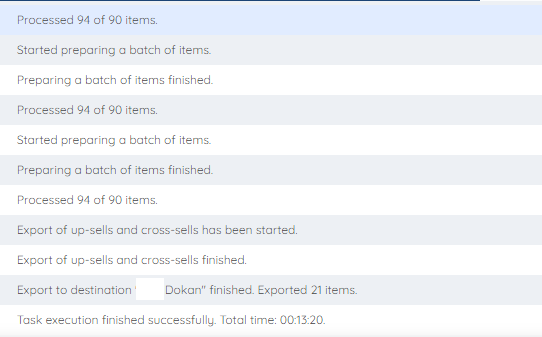
As we can see from execution of the task. everything went smoothly.
With this we will end our help article.
If you got any further questions feel free to contact our support, or contact us at [email protected]